My Complete Step-By-Step Blogging Process
Pin this post to Pinterest! ☝🏻
While blogging consistently is essential to increasing your organic traffic, it can quickly start to take up a lot of your time when you're churning out new blog posts week after week. Now that I've been blogging for a while, I've developed a pretty good system that's streamlined and efficient.
This post is everything from coming up with the original blog idea to hitting Publish.
MY STEP-BY-STEP PROCESS TO WRITING A BLOG POST
STEP 1: Pick a topic
Before I started blogging, it was hard to imagine what topics I could blog about every week. I knew I could probably crank out a handful of posts, but what would I do after that? Now that I blog consistently, I feel like I will never run out of ideas... oh the irony, ha.
Here are a few places to get ideas from:
Keywords: SEO is SO important. Ask yourself, what are people searching for that will lead them to your blog? Whatever those topics are, write about that. You can also use Keywords Everywhere to find similar keywords that people are searching for.
Common Questions: I'm a member of several Squarespace Facebook groups where people are constantly posing different questions. If I see similar questions pop up routinely, then I know that's a good topic for a blog post. Then when someone asks that question again, I can post a link to my blog post with their answer. That not only helps them out, but it also generates traffic to my site.
Client Work: Sometimes I run into unique issues when I'm designing websites for clients that require me to Google the answer. If I don't find a lot of information on that topic, then I turn it into a blog post. That's exactly how this post came about. I had a client with a rather robust eCommerce store that was moving from Wordpress to Squarespace. I knew there had to be a way to easily export and import the store items, but I didn't find any websites out there that were very helpful. So I created my own post with detailed instructions. The other great thing about creating blog posts for tricky situations is that I end up referring to them when I run into the issue again 😊
Another helpful tip is to keep a running list of all of your ideas. I keep a Notepad document with all of my blog post ideas. Every time I think of something, I add it to the list. The nice thing is that you'll start coming up with ideas that are similar to each other, and then you can link one blog post to another once they’re published (which is good for SEO!).
STEP 2: Write THE post in Notepad
This may seem like a silly tip, but it works. The tip is, don't compose your blog post on the actual blog post page on your website. Sounds silly right?! Let me explain.
There's something about sitting down to write THE blog post on THE page on my site that just paralyzes me. It's like, staring at the actual page puts this expectation on me that I need to sit down and compose a perfect post from A to Z where all of my thoughts flow right out of me word for word.
Let me tell you. That is not realistic.
For me, writing my blog post in a very boring Microsoft Notepad document without any color or anything else on the page to distract me makes it a lot easier to write. It doesn't have to be Notepad - maybe it's Word or a Google doc. Whatever it is, I just find that it's easier to compose something outside of Squarespace first.
If I'm doing a 'how to' post that requires images, then in between the paragraphs I'll actually write "ADD IMAGE HERE". That's an easy visual cue for me to go back and add the image once I paste the text into the actual blog post on my website.
If there's something in my text that I want to link to, I go ahead and grab that link while I'm writing and paste it in my Notepad. (Keep reading to Step 7 to find out why that's important...)
STEP 3: Take screenshots as I go
My favorite blog posts to write are 'how to' posts because I LOVE showing people something they didn't already know and expanding their knowledge base. Those types of posts usually include lots of images so I can demonstrate the exact process.
I always go through the process in real time, writing and taking screenshots along the way. It's a lot quicker to do a step, take a screenshot, and write about it instead of writing the whole post and then going back and taking screenshots. It also ensures that I don't miss a step along the way.
STEP 4: Edit screenshots in Figma
Figma is my go-to program for design (which is a whole other blog post).
Sometimes I need to add a heading or descriptive text to an image (like the image in Step 12 below). Or add an arrow pointing to something. I drag all of my screenshots into Figma and edit them in there.
Once I'm done, I export them and save them in the folder with the rest of my screenshots.
STEP 5: Compress images if needed
So, once I have all of my screenshots, I then look to see what size the images are. For SEO purposes, you want them to be less than 250KB.
TIP: If you put your images in a folder (as opposed to the desktop), you can change the view to "Details" and quickly see the size of all images.
Here are two good image compressors to use -
Once you've compressed your images, download them into a folder so you can upload them to your blog post.
STEP 6: Input text into blog page
Now we're finally ready to move into our website and start creating our post! First I duplicate my template and then paste everything from my Notepad doc into my page.
It's going to look like a mess at first, until we go to the next step...
STEP 7: Read through and assign headers and add HYPERLINKS
Proofreading is so, so important. Having a typo or bad grammar on your website is a really quick way to devalue your brand. Avoid it at all costs! Likewise - if you ever spot any typos on my site, please let me know, ok?? 😄
I have several steps in my process that require reading through my post. That's sort of a safety guard so that by the time I publish my post, I will have read through it about 3 times to catch anything.
In this step, I read through the post and assign a heading tag to my headers as well as add any hyperlinks to text. Having links in your post (whether to external sites or other pages on your site) is also good for SEO.
TIP: Be sure if you're linking to an external site that you turn ON the switch to open a new window!
There is one little pesky thing about Squarespace when it comes to adding URL's (or maybe it only happens to me). So, when I paste all of my text into the blog, the URL that I need to place in the hyperlink is in the text (since I added it in my original writing in the Notepad). All I would need to do is copy the text and paste it into the text to create the hyperlink.
But for some STRANGE reason, Squarespace does not allow you 'copy' anything when you're in editing mode. So you'll need to have your Notepad handy (or whatever you used) so that you can copy the URL from that and then paste it into the blog text to create the hyperlink.
STEP 8: Add images
At this point I'm ready to add my images within the post. I can quickly read through the post and spot the "ADD IMAGE HERE" text. I delete that text, then click the blue plus sign and add an image block.
Be sure to always add alt tags to your images and separate each word in the file name with a hyphen (this-is-an-image.png).
STEP 9: Read back through (again) and check for errors, tone, and add bold words
This is the second or third time I've read through the post at this point. This time I'm checking for any errors, making sure the tone is consistent, and highlighting important words.
Our brains don't like to digest a lot of text, so by making certain words bold, that helps to call those words out so that we pick up on them when we're reading.
Also, if I'm giving directions on how to perform a certain step, this is when I go back through and add the little bubble behind the text to make it stand out. (This post will show you how to add the bubble - it's wayyy easier than you think).
STEP 10: Place lead magnets inside of post
As you saw in this post, my template includes my lead magnets at the bottom of my post. Now that I have my entire post crafted, I need to move these lead magnets and place them within the post.
I usually place one in the top half and one in the bottom half. It usually just depends on what sections are lacking images and color, and then I just the lead magnet there.
I almost never break up a section by putting my lead magnet in the middle of a heading and paragraph. I will usually put it above a heading or after a paragraph section.
I have 3 lead magnets, but I only have 2 slots for lead magnets in my blog. The reason is because I don't want my blog post to become all about the lead magnets. I think the lead magnets are helpful, but I don't want to bombard people with them. Instead of using the same 2 lead magnets in the template on every post, I will usually swap one out with the 3rd lead magnet, but it's totally random which blog posts I switch them out on.
STEP 11: Change categories for "More content like this..." section
At the bottom of my blog posts is a "More content like this..." section. That is just a summary block that's pulling in blog posts marked with a certain category. So if my blog post mostly talks about CSS, then I want that section to pull in other blog posts that are about CSS.
To add that section in your own blog, insert a summary block, select the blog page to pull the posts from, then click Filter Items and choose your category or tag. If you want it to show all blog posts, then do not select a category or tag. Click on the Design tab for more settings.
STEP 12: Create image for blog, Pinterest, and email
Now I create the image that I'm going to use at the top of my blog post, the featured image (for the summary blocks), Pinterest images, and for my weekly email. I create a total of 6 images, which would take forever if I wasn't using Figma. (There will be a future blog post tutorial on this!).
I get all of my images from Unsplash. They're gorgeous, and they're free. Yes, and yes.
Here's some other resources for stock photos if you don't find what you like on Unsplash.
You want to choose images that are eye catching and match your brand colors. You'll notice not all of my images necessarily pertain to web design. Feel free to branch out beyond using a desktop or laptop in every single image. That gets old fast.
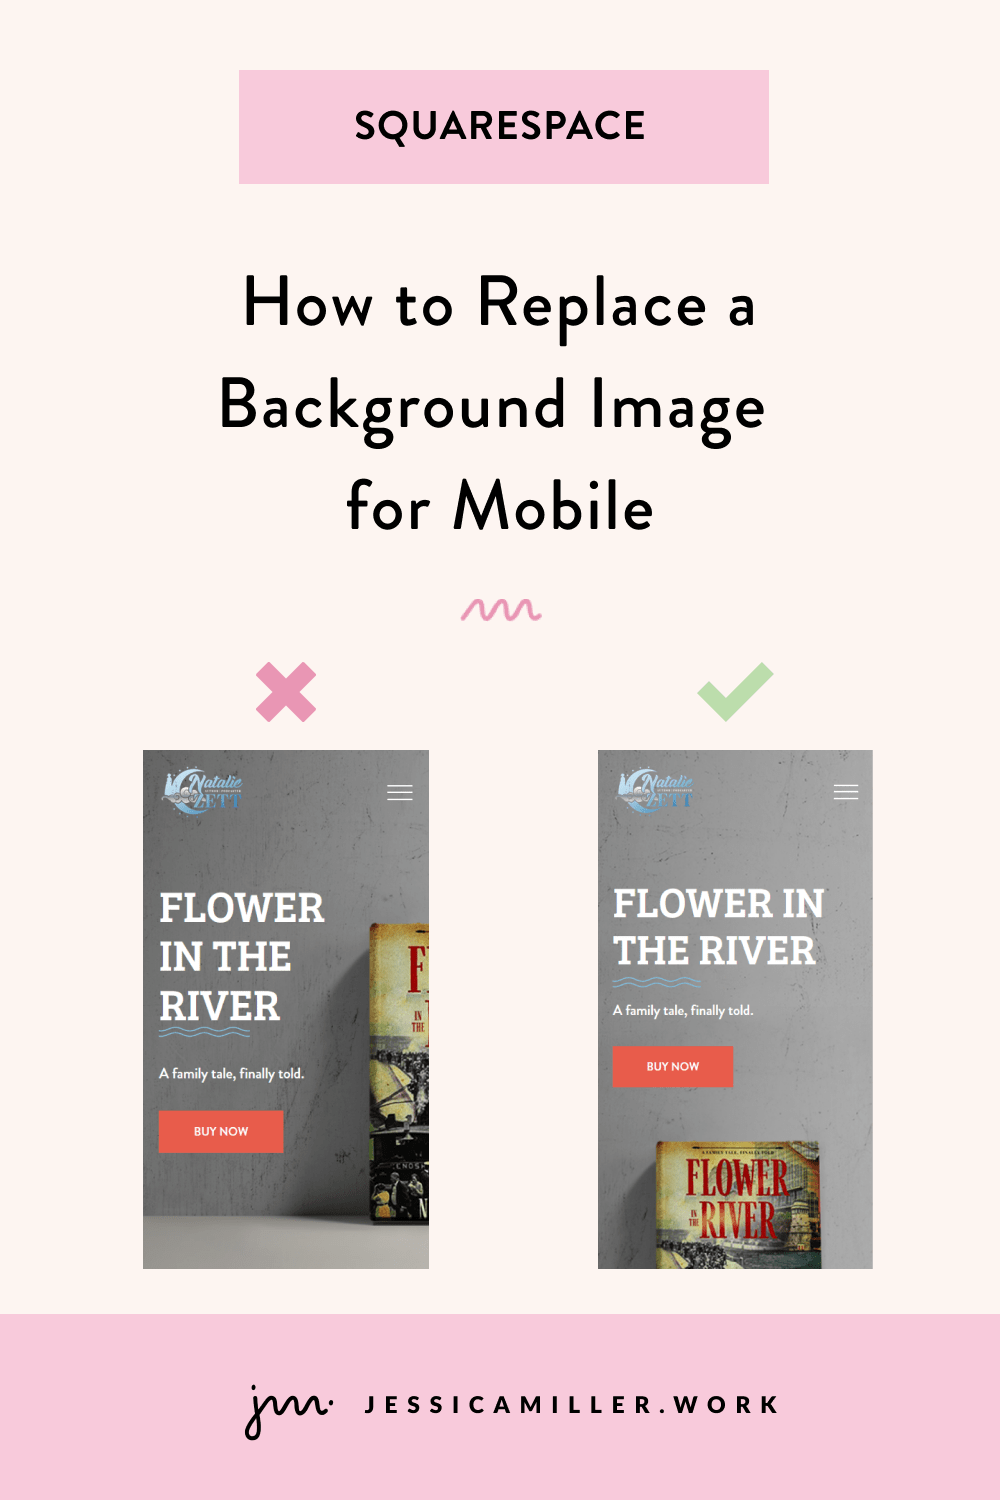
My blog images have come a long way from when I first started. I think you'll agree that you're more likely to click on the 1st row of images even though they aren't your typical 'web design' image. They’re definitely more eye-catching and appealing 😄
STEP 13: Change settings on the back end
Now to the nitty gritty. This isn't necessarily the most fun part, but it's some of the most important. There's 4 main settings on the back end to focus on -
SEO: Create an SEO description between 150-160 characters that includes keywords from your blog post.
URL: Your URL should just be a few words of what your post is about. Be sure to separate each word with a hyphen and make them all lower case.
Categories: I have four main categories that I use (Squarespace, CSS, How To's, and Business). You can assign more than one category to a post.
Tags: Type in several important words that pertain to your post. This also lets Google know what your post is about.
STEP 14: Schedule to post
Finally! We're here! Now's the time to schedule your post and broadcast it to the world.
Go to Settings -> Options -> Status -> Scheduled and choose a date/time to make your blog post live.
You can always just publish your blog as soon as you're done with it, but since I release one blog post each week, I like to create mine in batches and schedule them to come out weekly.
If for some reason you need to take your blog post down, you can come back to these settings and mark it as Draft.
At this point the post is scheduled and we're done...almost. Next I queue up several Pinterest posts on Tailwind using the images I created in Step 12. I also set up my email to go out to my email list using Flodesk.
We'll cover both of these in an upcoming blog post in the series, so be sure to come back next week or sign up to get the post in your inbox 😊
Missed a post in the series? Here’s all of them:
Part 1: How To Create A Blog on Squarespace
Part 2: My Complete Step-By-Step Blogging Process
Part 3: 3 Elements Every Blog Post Should Include
Part 4: 12 Tips Every Blogger Should Know
*This post may contain affiliate links, so I may earn a small commission when you make a purchase through links on this site at no additional cost to you.


